Manage Accounts
Use this window to register your bank accounts—such as checking, savings, credit cards, investments, or any other types—for which you want to create, import, and/or process transactions.
There are two types of accounts:
- Manual: You’ll enter each transaction manually or use Scheduled Transactions to automatically create recurring entries at set intervals.
- Imported: You’ll import transactions from files downloaded from your financial institution. Imported transactions can be edited after import if needed.
Adding a New Account
Click the "+ Add a New Account" link at the bottom of the accounts list. You can enter one account at a time.
General tab
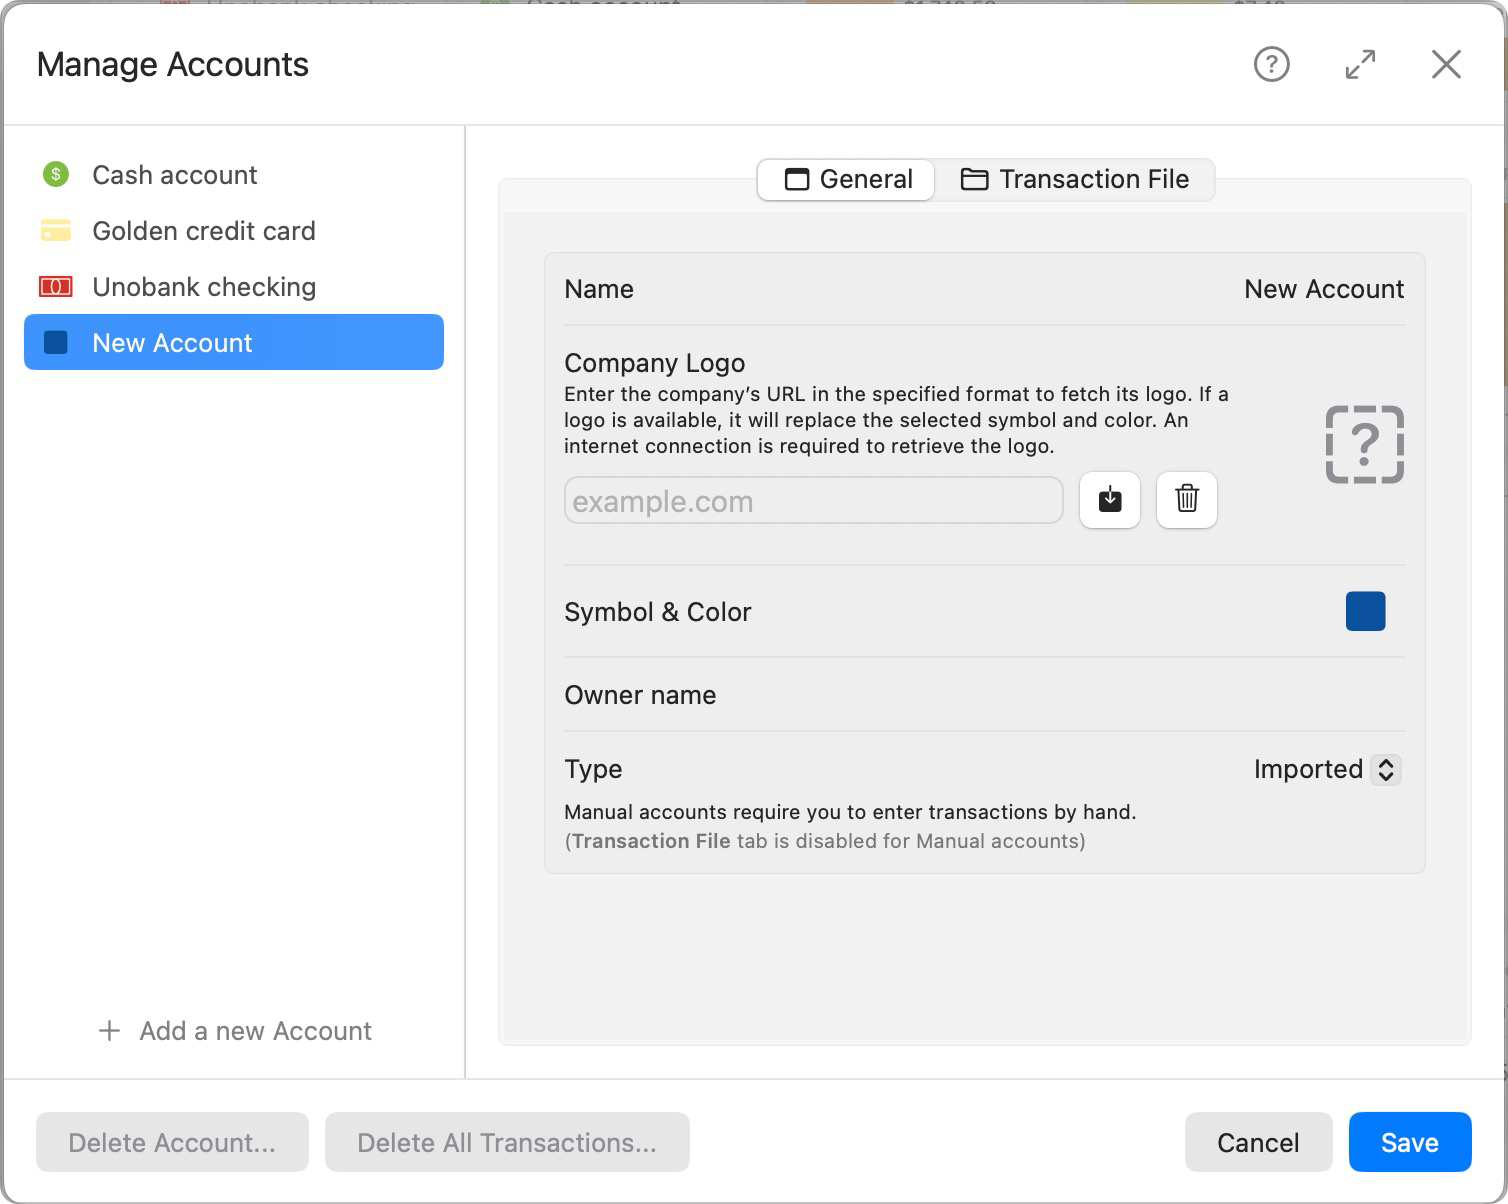
- Select the account type as described above. If you select Manual, the Transaction File tab will be disabled. Once an account is created, its type cannot be changed.
Note: Existing imported accounts in sample budgets cannot be modified, but you can create new imported accounts and import transactions into them.
- Enter the account name.
- Enter the account owner's name.
- Choose whether to use your financial institution’s logo or a custom symbol and color:
- To use a logo, enter your institution's internet domain (e.g., bankofamerica.com), then click the download button. If a logo is found, it will appear within a few seconds in the placeholder area. If not, the placeholder question mark will remain. If a logo is available, the selected symbol and color will be ignored. To revert to a symbol/color later, click the trash can button to remove the logo.
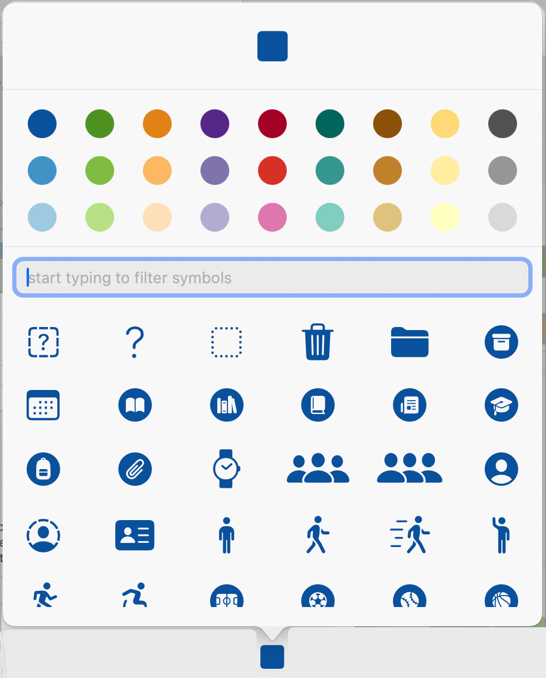
- To use a symbol and color, click the symbol (blue square for new accounts) to pick your preferred combination. Symbols are organized in groups. Choose a color with good contrast in your preferred system mode (light or dark).
Transaction File tab
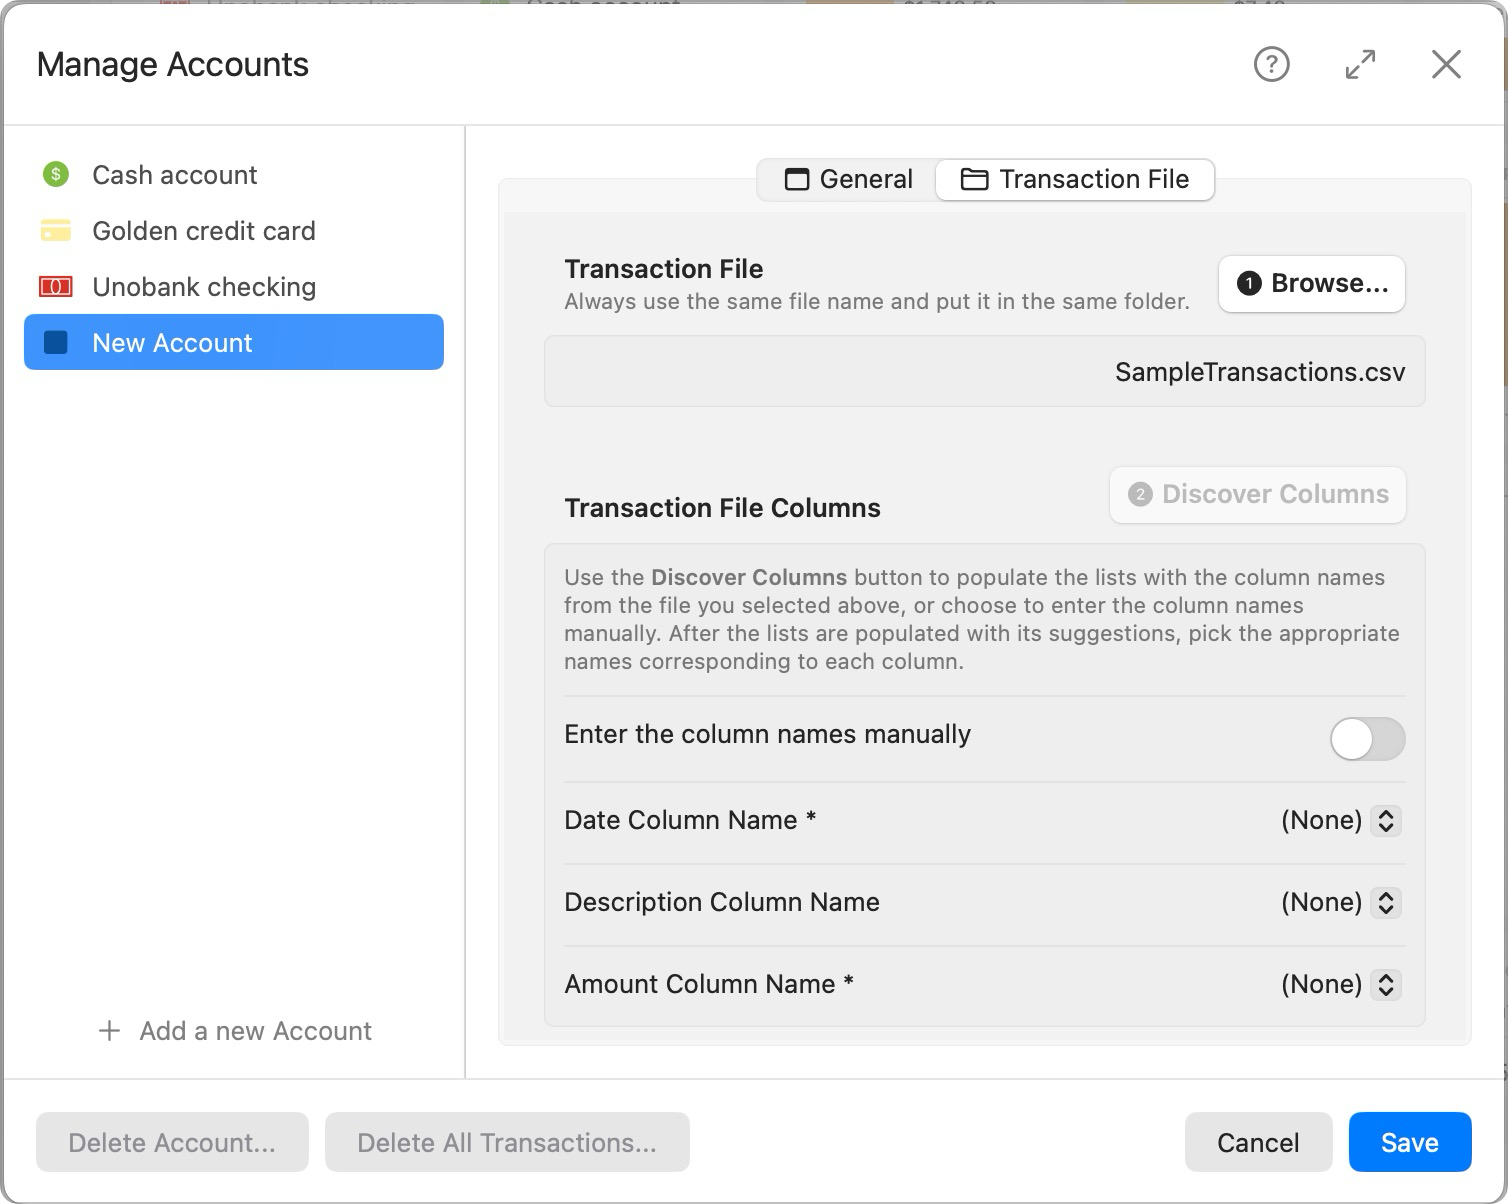
- If you selected an Imported account, click the Transaction File tab to provide additional import information.
Note: It helps to understand the following before configuring this tab: Most banks offer downloadable transaction files. Two supported formats are:
- CSV (Comma-Separated Values) – A plain format where fields are separated by commas.
- OFX/QFX (Quicken formats) – Structured SGML-based formats.
You don’t need to know format details—just download the file your institution provides. The primary purpose of this tab is to tell the app where to find your transaction file and which columns to use for importing.
- Click Folder... to select the folder where your downloaded transaction files will be stored. This grants the app permission to read files from that location. Then, click File... to select the specific file to import from. For the smoothest experience, always save your bank downloads to the same file name and location—this avoids repeated authorization prompts. The app will detect previously imported transactions and won't create duplicates or overwrite any changes you've made.
- Click Discover Columns to analyze the file and extract its columns.
- Three columns are essential for import: Date, Description, and Amount. Some banks may omit Description in OFX/QFX files due to formatting bugs.
- Once columns are detected, select the appropriate ones from the dropdowns. Common examples include:
- Date: Posted Date, Effective Date (some files have multiple date columns, so pick the one that falls within the correct budget year)
- Description: Description, Memo
- Amount: Amount, Value
If column names are unclear in a CSV file, open it in a text editor to identify the correct fields.
If an error occurs during column discovery, an alert will appear with details. Contact support if you’re unsure how to proceed.
Editing Existing Accounts
To edit an account, select it from the list and modify its information using the tabs on the right.
You can change the following:
- Account name
- Owner name
- Logo or symbol/color
- Transaction file settings (Imported accounts only): You may update column names, but proceed with caution as incorrect changes can affect transaction imports. For example, if a file has multiple date columns and you change between them, you may end up with duplicate transactions. In this case, it's better to delete all transactions before making these types of adjustments.
Note: You cannot change an account’s type after it has been created. For example, you can’t switch a Manual account to Imported or vice versa. To change an account type, delete it and create a new one with the desired configuration.
Deleting an Account
To delete an account, click the Delete Account... button at the footer of the window. You’ll be prompted to confirm.
Warning: Deleting an account also deletes all of its transactions and associated data permanently. This action cannot be undone. Use caution and ensure backups if needed.
Deleting All Transactions
To keep the account but remove all its transactions, click "Delete All Transactions..." and confirm the action.
Note: This removes all transactions depending on the account type—scheduled (auto-generated), manual, and imported. Scheduled Transactions are not affected and will continue generating new entries unless disabled or deleted.